PROS:
The overall animation met the expectations that we had in the beginning. We were
pleased how the timing from the storyboard corresponded so well with the animation,
from the aspect that all the frames fitted how we imagined. Due to the precise timing
, this task was very easy as we could follow our plan without fault. This helped to fit
the narrative into the minute as planned.
With the first draft we showed to Alexandra the primary and the secondary movement
was not to the best of our abilities, so the animation was not up to the standard we
anticipated. Then from Alexandra’s feedback we went back to treat the animation to
improve our primary and secondary movement and we find the outcome had become
more aesthetic.
CONS:
We had the choice to either use pins or threads to construct characters movement on
their anatomy. We chose to use a thread as the pins were going to be visible in the
filming process. We discovered the problem we met after we had built our characters
was that the movement was highly restricted and due to this the primary movement
was heavy and uneven. This became apparent when we started to use more in-depth
secondary movement, when we were animating the motion of the anatomy when parts
of the body such as legs and arm became ungovernable and they moved back to the
original position without us moving them.
FEEDBACK FROM PEERS
• They enjoyed the use of hole-punched card.
• the movement was smooth and subtle and they enjoyed the secondary moment's int
eh, animation.
• the bird was a nice touch nd seems to be a key focus through out the animation
• Possibly add the mask into the ribcage of the fish as it completely disappears though
the animation
• the video was blurred and refocused during the middle of the video the background
wasn't stuck down properly
• 14 seconds in you can see a hand
In next couple weeks, we will present our cut-out animation which we are going to develop in groups of three people. There is also a time limit so the actual outcome can't go over a minute. In this minute the narrative should be crystal clear and understandable for the audience. We cannot have more than one copy of each character, so any scaling, shape changing and any other manipulations with the puppet are prohibited.
After a long discussion with the Tutor we
decided to change some little aspects of the story
Very first draft of the storyboard which involves 4 characters. After we found out that there could be only 3
characters we have changed the story completely.
Surprisingly storyboarding went very well despite that three of us were creating it. We tried to use our character abilities to make them look organic within the story and use their capabilities as described in their profiles. The story itself has a very understandable and deep narrative which contains many aspects of the real life. As a result, our story can be cycled and played infinite times. We have also managed to count frame amount even before filming as we wanted to find out how many seconds each shot will require fitting the narrative into one minute long animation,
I have jumped ahead of the task and just couple days before actual brief I met a couple of my classmates to develop the story. The idea was to involve our characters characteristics into the animation to evince their behavior. We created a storyboard where all of our characters could show their purpose in that imaginary world. We had 4 characters and a quite nice story to start with. We also come to believe that our characters need to have a generic visual style and basically our Idea was working well on the paper.
After we presented our idea to our tutor, we have been forced to reduce our team member count to 3. After a long discussion with the tutor, we came to the conclusion that 3 people are completely enough for our animation so the story was changed straight ahead.
We had a discussion about the details, style and a narrative of the animation. We created couple storyboards to have a clear vision of what we intend to do. The Idea is strongly intertwined with our characters nature and behaviors. As a reference, we are going to use Lotte's animations but instead of using the lightbox stage we are going to perform our work on the horizontal surface. We had a dispute about the detail of our characters as I wanted to cut out every single detail using the knife instead of drawing with white marker on the black surface to represent the detail and cuts. We still need to come to the consensus, albeit our idea has a positive feedback and we know the direction of our work.
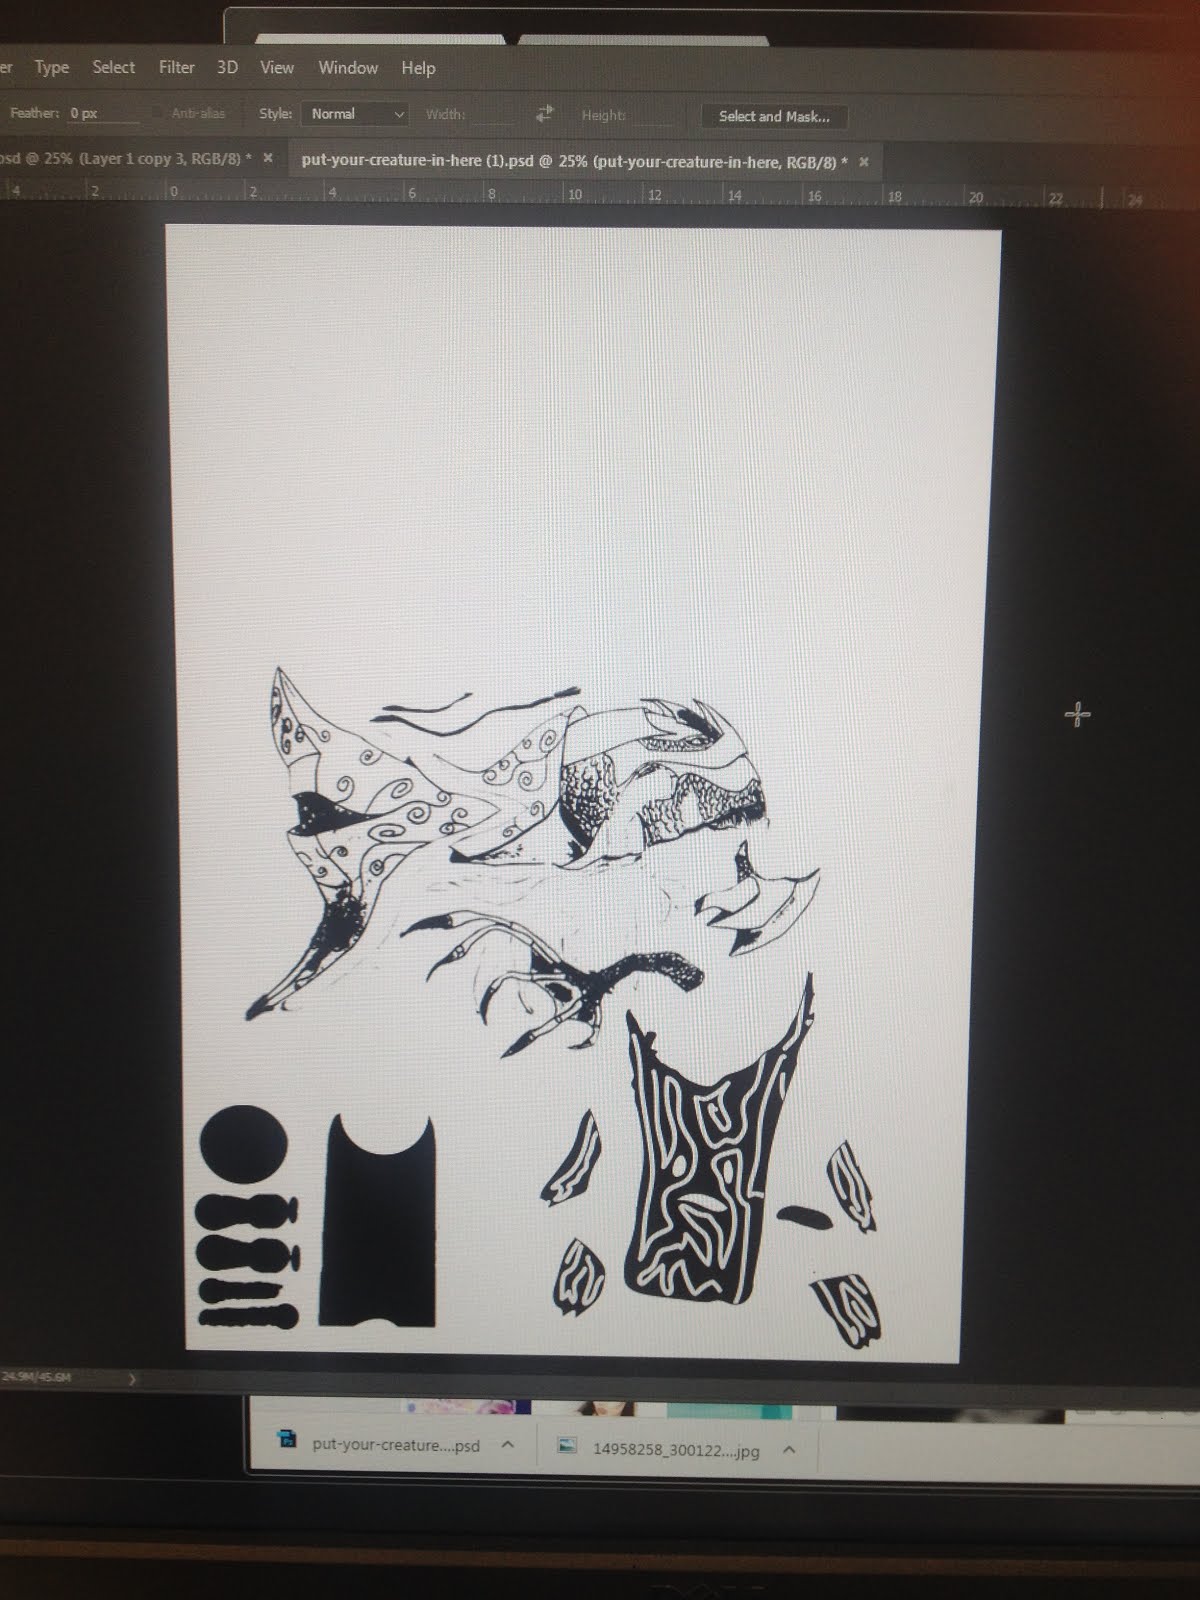
PREPARING|
As our idea has been developed and everybody was happy with it. We started to create our silhouettes and assets for the animation.
In the very begging, we created the a4 sheet in the Photoshop to figure out what sizes our characters are going to be. The character who represents the monster fish needs to be bigger than others, so this method of comparison helped us to manage right proportions. To make our actual scene more interesting and to add secondary movement to our background we have been looking trough the internet for some bird silhouettes to find suitable movement sequence. It was very hard to find birds poses that would clearly represent flying action. After our Photoshop files have been finished we printed them out to start another phase of our work.
CUTTING|
I would definitely say that this part of the preparation was the hardest one. Our black cardboard was thick enough to keep our characters away from the possibility to be ripped, but the also increased the difficulty of the cutting process.
We attached our printed sheets to the black cardboard and started to cut out details. This was a time-consuming process as it required attention to the details and possibility to damage the silhouette shape was very high. It was especially hard to cut out a bird shape as it was very tiny over against the
silhouettes of our characters. To avoid any damages we decided to cut out bird's flying sequence straight from the paper sheet as we haven't had any moving parts in it. Assets like trees and flowers were created in the same way to reduce the difficulty of the work.
After cutting was ended we jumped into the next phase - The Сonnection.
Every moving part of our characters has been cut separately to connect all of them together afterward. We had many options how to do so, but we stick to one option - sewing up. This decision served to many reasons, to hide the actual joint, to make part movement easier and to reduce the possibility of the damage. Magic hands of Fontane helped us a lot in reaching this goal and after a while, our characters were ready for the animation.
We have used a black еthread and a needle to
attach moving parts to the body.
BACKGROUND|
The narrative of our story required some sort of the background, preferably containing a design of the forest. So we created assets like trees, flowers, and a bird to decorate our stage. Fontane brought in a ready background and we added our assets into the scene. We were lucky that the size of the background fit very well into to the stop-motion setting in the studios. The issue came when we tried top move our characters around to see hot the animation is going to work. As the background was created using many layers of the thick paper, our characters faced the edges of them. So it was impossible to use our scene for smooth movement of characters and our main idea -colourful dots.
We went to the shop and bought a transparent plastic sheet and mounted it on the top of our background. Sp we faced another problem - plastic reflected lights in the studios so we moved them aside to reduce the reflection. The main light in the studio didn't want to switch off completely so we mounted a jacket on the top of the camera to hide any reflections. After these easy manipulations, our scene was ready to start filming.
A test run of the motion before the plastic sheet was attached.
The jacket on the top was mounted to block
the light from the ceiling.
COLOURFUL DOTS|
The key feature of our animation are dots which are going to represent the colour in our scene. As the main idea is that the fish eats all the colours in the world we decide to use dots of different colours to represent tree leafs and happiness. It is very easy to move them around the scene and to add or reduce their amount.
Process of dots creation
TEST RUN|
After all of our efforts, the scene was ready to start actual filming. The light was set, all reflections removed, characters ready to perform, narrative discussed and approximate timing calculated we shoot our first frame.
Filming process
In the very beginning it was very exciting, but let's be honest - each second of the animation requires at least 12 FPS and it is the minimum. As our animation is strictly set to one minute it is 12*60 = 720 frames. And it is the MINUMUM! To produce a high-quality movement with the smooth secondary movement we need to shoot at least 1.2k frames. It is not hard to achieve, it is time-consuming which is not an issue. Only when you are in the process of the stop-motion animation shooting you can realize how much effort animators are putting in their work and it is amazing.
Our storyboard was divided into separate groups where we could see how many seconds each action requires to fit into that one minute. We realized that the timing of the movement needs to be discussed in the detail as some of the movements were too fast in compare to others. This was only a test run and we already noticed issues which need to be solved before the actual shoot. Also, we need to put more effort into the animation itself to produce a high-quality work for the presentation.
FILMING|
After we collected and carefully analyzed the feedback of our tutor and other groups we re-planned our storyboard and changed some of the motion aspects of our animation. First of all, we decided to expand some of the narrative parts to show our narrative more clearly. Our idea was to fit the one minute story which would have a clear form from the beginning until the end of it. It was distinctively easier as we had some previous experience doing the test run.
I will divide this observation into small parts to give a more detailed explanation of our features and fails during the animation.
Features:
To create a feeling that the background is actually *alive* we had to use a movement of the particles which represented our tree leaves. Accurate moves promised a realistic look of leaves falling and being constantly relocated due to imagined wind activity. The bird movement also forced some of the leaves to detach from the branch. It was very interesting and exciting to replicate bird's fly to see how it actually works in stop-motion.
Colorful circles which we have used to replicate joy were very difficult to control as we had to understand what speed are they going to move and collect together. After many tests, we figured out the most appropriate pace time to give a realistic feeling of them moving around the scene. We received much positive feedback from our classmates and they were excited and surprised how well we managed to move them around to give a continuous sensitivity of the movement. The overall process of filming took us around 7 hours of two days filming. It was a wearying operation as we had to deal with many small details and give each of them an action. Some previous knowledge accompanied me throughout the process and gave me more accurate control over the particles to create this kind of functioning on the screen.
Fails:
While we were very concentrated on the secondary movement we unnoticed many details during the filming. Many of the particles were staying in the same place for several frames before we detected them. It was unreasonable to delete the bunch of frames just to move couple leaves a bit further so we moved further. It was really hard to follow each single particle so during our animation many of the fails appear if you take a careful look. Also, some of the character parts were bouncing from original position to very unexpected while we moved our particles around. It was very irritating as we had an issue with the technology of the part attachment. Besides, reflections caused by lamps migrated around the scene and caused inequality of the lighting. The secondary movement of the flowers acted independently as each single touch of the plastic surface caused a vibration and moved our props constantly without any visible reason. We noticed that movement only after full review of our finished animation.
SUMMARY|
In brief - I am very happy with our work and proud of my team as we were able to demonstrate a good teamwork and fast workflow. We created a beautiful story and we noticed that the audience enjoyed it as much as we did. I was a good essay of our capabilities to create something from the scratch. I would change a load of things in this animation to improve its look, but as we were restricted in our actions I think this work is pretty well made. I have received an affluent experience during this task and I am very sure that the next project will become even better.
SUMMARY after the show-reel|
As our group first started and finished the animation, we have been following certain restrictions. We thought we need to keep our animations as simple as possible to reach a primary goal - understanding of the animation principles. We have used our own ideas in the *alive background* and these Ideas were stolen and used in other animations. Many people from the audience were fascinated by the birds to fly and leaves and at least two of groups have used same principles. Next time I would like to keep in secret what are we doing and how are we becoming with ideas.
Attention to detail is very important like any another design feature. The outcome of the finished product is always a complex of many nuances which are hidden behind the output. This task is very especial as it requires to pursue the same visual style as the overall scene in the animation. We have three different characters with a contrasting anatomy and we need to find a harmony between their visual style. It is distinctively a difficult task which needs to be solved before the actual animation will take a run.
SIMPLICITY|
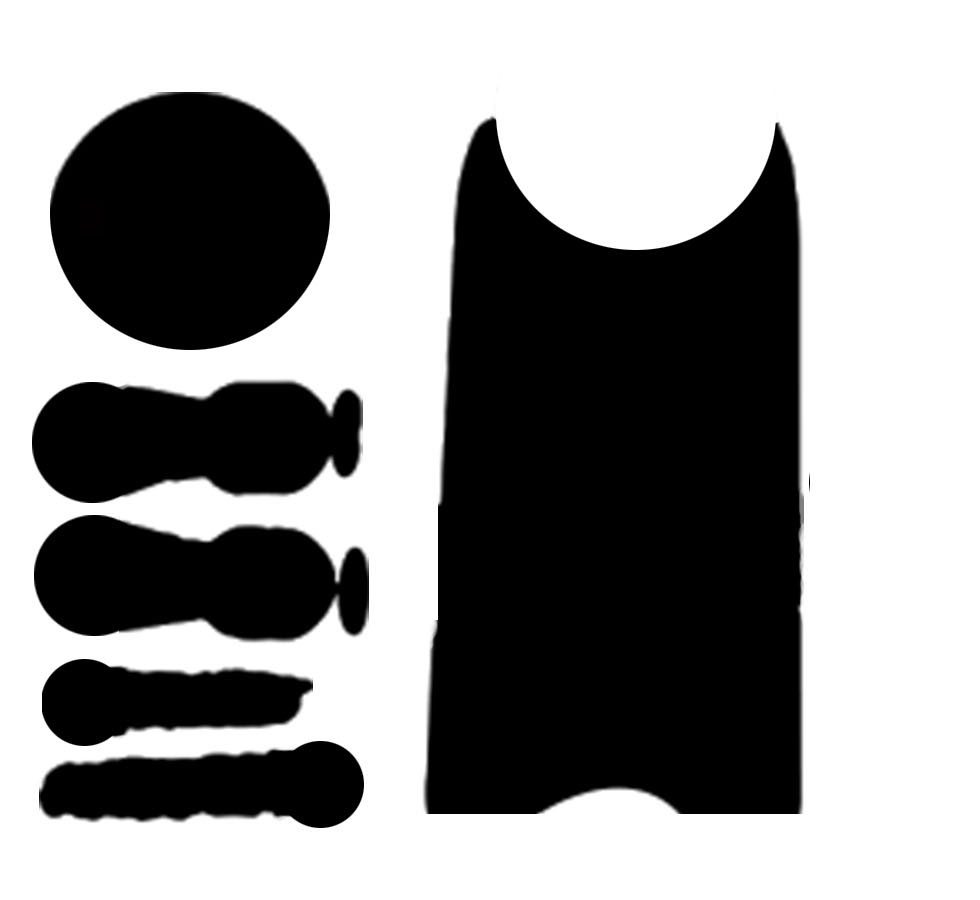
Detached parts of the anatomy
I decided to keep a simple decorative aspect of my character to emphasize its shape and movement variation. I have made several cuts on the body to give a tribal look to its anatomy and several parallel cuts on the head to represent eyes. As my silhouette was way smaller than the physical model I left some space around the body untouched by the scalpel knife. The reason for this was that these spaces will serve as joint platforms. When the cut-out process was finished I started to designate attaching techniques.
Colour spreading concept
Appearing concept
Movement design and location of joints
We had many options how to assemble our character's anatomy together and we also had serious restrictions due to our character size and location of the cuts. The thread was the only appropriate option to joint parts together. In follow-up work, we faced some issues which complicated our workflow as the joints weren't able to keep some of the established positions.
TEXTURE|
After a short negotiation with my group, we identified the design which will combine our character on the scene. I have designed the approximate look of my character which accommodates with my vision of the art style we decided to use. I eventually changed the visual aspect in the final cut-out model as I have decided to cut out some parts of the body to create a tribal look to my character avoiding any painting.
First draft of the visual side of the character
MATERIALS|
For this particular silhouette, I have to use a black cardboard, scalpel knife, silver marker pen, needle and the thread.
SUMMARY|
The overall process of designing and producing this silhouette revealed many aspects of the workflow which have been hidden while the designing remain in the head. I eventually identified many issues which I would like not to have. The preciseness of the shapes I have cut out could be better and the technique I have used for the character assembly could be changed to pins instead of the thread. All of these thoughts are coming to my mind only after I see the final work but, despite these facts, I am proud of my final piece of the work.
Before we started actual animation development we decided to research some cut-out animations to have a deeper understanding of the preparation and development process. It was very hard to integrate our character silhouettes into some very detailed pieces as it would require many hours and very accurate attention to the cutting process.
"Däumelinchen" by Lotte Reiniger
Lotte Reiniger is known as a very talented animator which uses incredibly detailed cut-out characters for her animation movies. Of course, this artist was our primary research stirrer as we already knew on whom we depend. The patience of this artist is just unbelievable and this is a good piece of work for the imitation. Our animation will be mostly black&white with some additional colour so this is why we researched Lotte's work as our primary choice.
Some tips for the cut-out process
SOME ANIMATION FOR INSPIRATION
Nice butterfly movement could be used for the bird animation.
very beautiful and smooth animation to consider
By doing research of the animations related to our narrative I found many useful techniques to improve our animation. Many of these works were created with amazing effort. This is why we have tried to make our scene alive with many moving parts. We have also researched some layout examples to enrich our scene.
This animation was created in the Adobe Aftereffects but it still contains nice and attractive paper look
This is a good reference for creating depth into your scene
For the next couple sessions, we will go out to some historical places of London to film in space. The video must be one minute long to show what could possibly happen in such a short period of time.I will use a stop motion technique to achieve this goal. I have also thought about some places which would be suitable for my character, some colourful and charismatic streets. Like brick lane.
We also will present a cut-out animation with our character in the main role. I will have Lotte Reiniger work as a reference as her animation are just amazing. Also, this kind of work can show you how detailed your work needs to be to have an impression on the audience. P.S I need to figure out how the silhouette of my character is going to move its parts and I need to find very good locations for cuts to make my character look alive during the stop motion animation. I will make cuts for arms and head. Feet of my character will stay still as its a doll who literally cannot move. Update - 25.10.16 My plan has been changed and I decided to move to London bridge as this location is much more historical and locates at the river Themes. The storyboard itself contains a narrative about the regular walk around the city when you are meeting your friends and having a good time enjoying a simple walk. My classmates went with me for shooting and also have taken their creatures to compose a nice company. Shooting went good but when I did my presentation I received negative feedback. I can easily hold critics so I have been listening very carefully to catch up things I did wrong. Of course, I would like to say, that this video was just about regular amusement as many people do - just walk around and having a time together. Obviously, I will need to film another video with a stronger narrative and possibly "update" my character to make him more interesting and attractive. Production: I have been using Canon DSLR camera and the tree branch to hold my character and move him along. For the post-production, I have used AE software to work with my images.
Thoughts about the filming in space:
To start with the objective critics I would like to share my feelings about the actual filming process. I felt very uncomfortable while I was filming my short film. I have been thinking about the people who surround me and this aspect really prevented me from creating a very interesting and narrative filled movie. I do understand that this is not a valuable excuse and I could do my work better but this sociopathic aspect of me just took exceeded me. I have also noted to myself that this can't be a part of a professional artist so I will make myself to step over it and produce a very valuable and professional fork in future. Summary: In overall I enjoyed this task very much. I accepted that fact that sometimes I need to do work in places where I would never act like this. In many cases, things like filming your weird characters could be embarrassing but you just need to handle it. It was very interesting to develop the story for the creature and I tried to create something unique and simple at the same time. I want to note peculiarity that receiving feedback can be fun and you do not need to admit it as a criticism. I totally agreed with the feedback I have received I do understand that you can do work much better.


